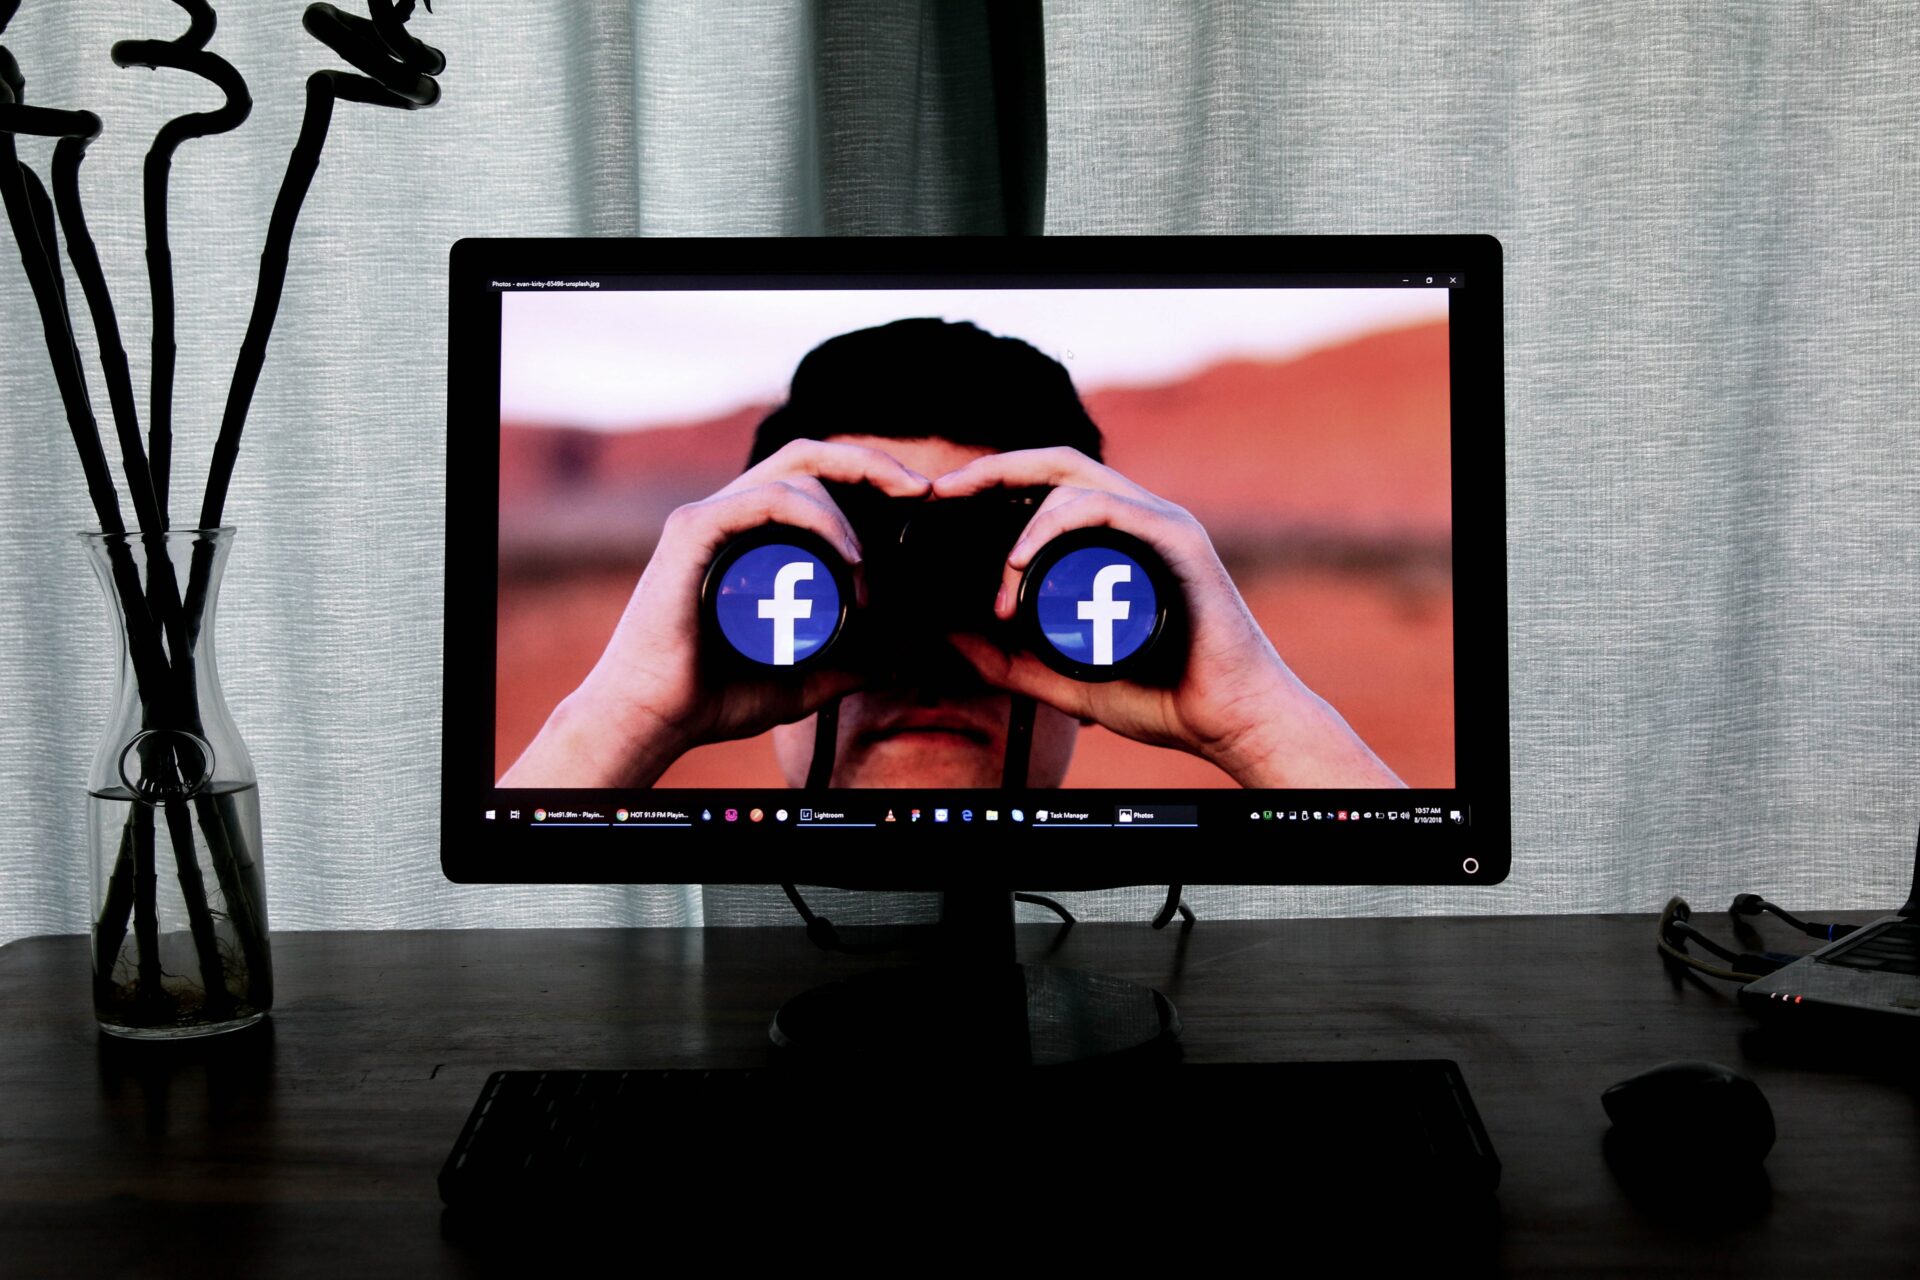
Facebook Live is the internet’s biggest unhidden secret. If you’re a native New Yorker or live in the tri-state area and frequent our largest venues, you’ll appreciate this analogy.
Imagine if all of the big hitters held an event on the same night. Here are the population venue stats: Madison Square Garden (20k+), Barclays Center (19k+), Staples Center (21k+) and Metlife Stadium (82k+), totaling to 142k+ attendees. Now, imagine if they all chose to live stream segments of these events, millions of people could be virtual participants.
Unreal, right? With the unlimited reach of live streaming, every business should incorporate Facebook Live into their media coverage, conferences, events and business practices.
What Are Tips for Facebook Live?
 Tip#1: Don’t get a good connection, get a GREAT one. That may seem obvious, but it’s an essential piece of this puzzle. Mark Zuckerberg’s team recommends WiFi. But if WiFi is difficult to obtain, then you’ll want to have a 4G connection. According to Facebook, if you have a weak signal, the ‘Go Live’ button will be grayed out.
Tip#2: Download the Speedtest app from Google Play or the App Store and test your speed before you go live. If your connection isn’t fast enough, your live will be a fail. You don’t want to risk this! Plan ahead.
Tip#3: Stay on long. The platform wizards suggest that the longer you stay on, the more people are likely to discover the stream and invite others. The recommended time to stream is at least 10 minutes, and you can stay live up to 4 hours. This tip makes a lot of sense. Have you ever watched a live stream by your favorite influencers? They go live and then wait a few minutes for people to trickle in before starting. When the “crowd” is present, then the show can begin!
Tip#4: Encourage your viewers to subscribe to your live notifications. This way, they will never miss another one of your live streams again.
Wait, But Do You Know How to Use Facebook Live?
 It’s not brain surgery, but you do need to have your ducks in a row. If you are doing a simple DIY live stream, then be sure to download the Facebook app on your mobile device. Be mindful that there are different apps depending on your device. For example, download Facebook for iOS if you’re an iPhone girl or Facebook for Android if you’re an Android dude. If you don’t want to use your phone, you can use cool cameras that are made to improve the quality of your stream. Mevo Plus is a good one. It allows hands-free filming so you can stream from multiple angles.
Step By Step Tutorial for Going LIVE:
OK, now that you’re all set with the basics.
- Now, log into your Facebook account and tap on the camera icon. Don’t see it? It should be left of your search bar.
- Agree to grant Facebook access to your camera and microphone.
- Switch to Live at the bottom of your screen.
- Adjust your settings for the broadcast (i.e. privacy)
- Create a brief description for your Facebook Live so people know what they will be watching.
- Set your location.
- Tag friends (if you want)
- Select your camera orientation (and include lenses or filters if preferred)
- Ready, set, go LIVE!
- Oh, and don’t forget to click “Finish” when you’re signing off! If you don’t, your stream will continue to run!
 Now, that you know how to use Facebook Live, you need to establish a marketing content plan for your material. Additionally, remember to announce your live streams at least a day in advance.
There’s nothing wrong with impromptu live stream. However, if you’re streaming an important event, you want to give your audience a heads up so they can adjust their schedules accordingly.
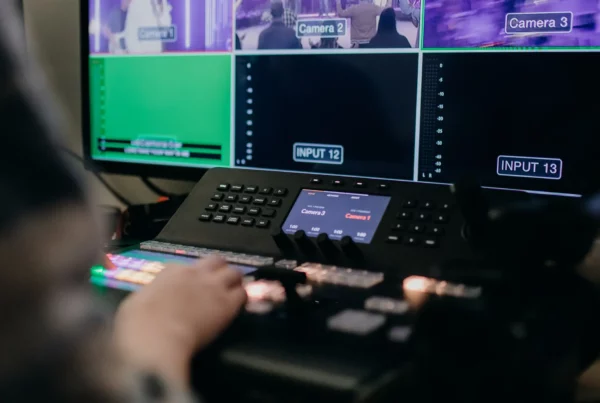
Also, if you’re hosting a large conference or event, you should consider using a comprehensive live streaming platform like Contentflow. (Yes, we know, shameless plug! But that doesn’t make it any less true)!
Get Smart About Live Streaming
Not only will Contentflow allow you to stream via 100+ Facebook accounts in addition to various other mediums, such as your website, Twitch, Youtube, etc., there are many features. For example, our cloud-based editing allows you to live-edit and air within seconds. Our audience analytics will let you know how many users have viewed your streams at one time. You can even pull a geolocation heatmap for an illustration of where you viewers are located. Other features include: static overlay graphics for branding, an embeddable video player and more. As your needs grow, live streaming may seem complex. It surely can be complex if you are using the wrong live streaming software. That’s why investing in one that you can trust makes all the difference.


 This project has received funding from the European Union’s Horizon 2020 research and innovation programme under grant agreement No 876239, 959379 & 965502.