The Contentflow software makes it easy to integrate a livestream with its own player on any website. Here we explain which steps are necessary.
1. Create Livestream in the Software
After the login you have to select the corresponding workspace. There you click the menu item “Player and Recorder”:
2. Create a Web Player
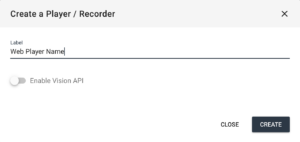
Then click the button with the plus sign to create a new player. The following window opens, in which you can name the player:
Let’s go through from right to left: with the red icon, a player can be deleted from the list. With the icon next to it, a graphic can be permanently added. This is useful if you want to insert a logo on the stream. The gear icon leads to the settings, next to it, we have the statistics. Then we have the options to integrate the web player (and thus also the livestream) into external pages. With the button next to it, you can rename the player.
3. Configuring the Web Player
Before we can embed the livestream into a page using the web player, we need to configure the player. For this we click on the gear button, which opens a window with the following options: streaming source, backup streaming source, media source, circuit, viewer limit and comments. There are also the options latency and whitelist.
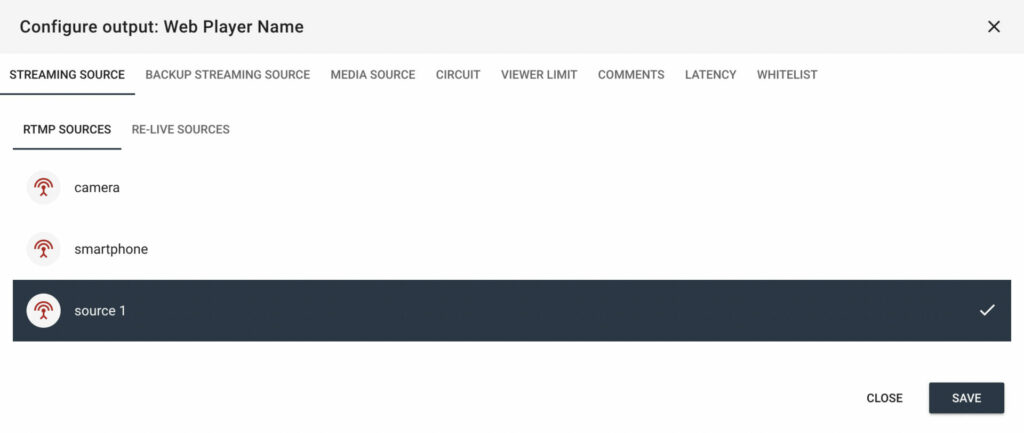
Re-live sources are video files that are played at a specific time. These can also be linked to a player.
Backup streaming sources
Stream sources can be linked here as a backup. This means these sources would take over immediately if the original stream source is offline.
Media source
Here, a video file or a graphic can be linked to the player. This will be displayed when the player is selected.
Circuit
There are three options here. Either you select a media file, or you select a streaming source. The third option is automatic, then the streaming source is used automatically when it is live, and the media file otherwise.
Viewer limit
Here you can set a maximum number of viewers.
Comments
Here you can enable the comment function.
Latency
Here you can adjust the desired latency.
Whitelist
Domains can be set here. The player can only be shown on these domains.
4. Embed Livestream Web Player into a Website
First, click the “Embed” button. There are three ways to embed the web player. These are listed in the window which opens:
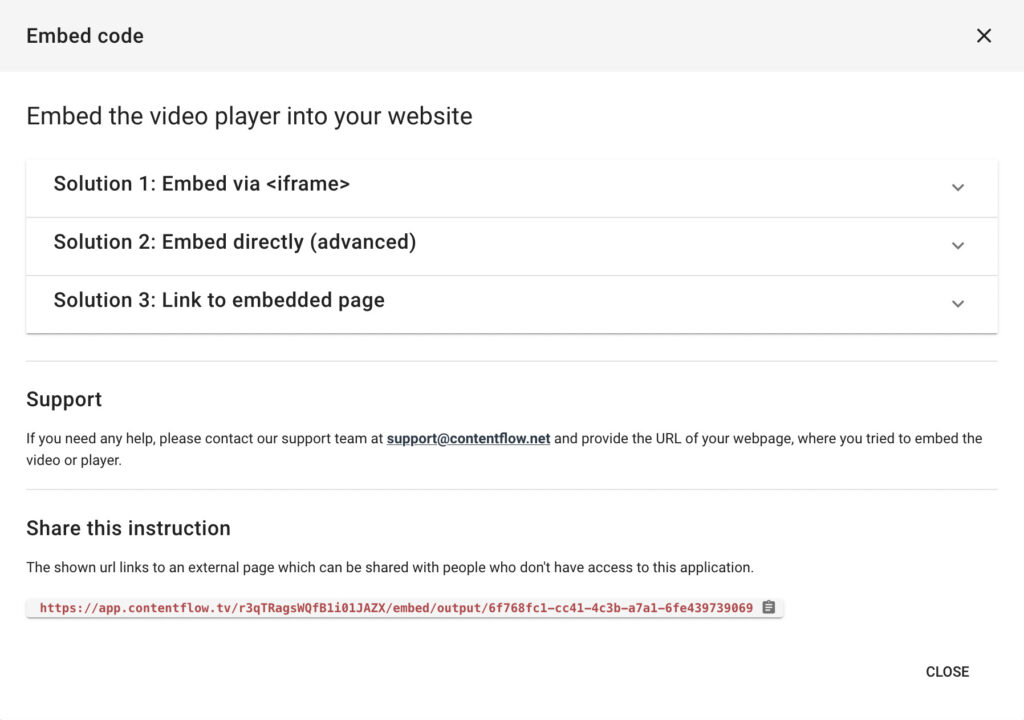
With the URL at the bottom of the window, you can easily share the three options.





 This project has received funding from the European Union’s Horizon 2020 research and innovation programme under grant agreement No 876239, 959379 & 965502.
